
How To Knit Your Own Sweater
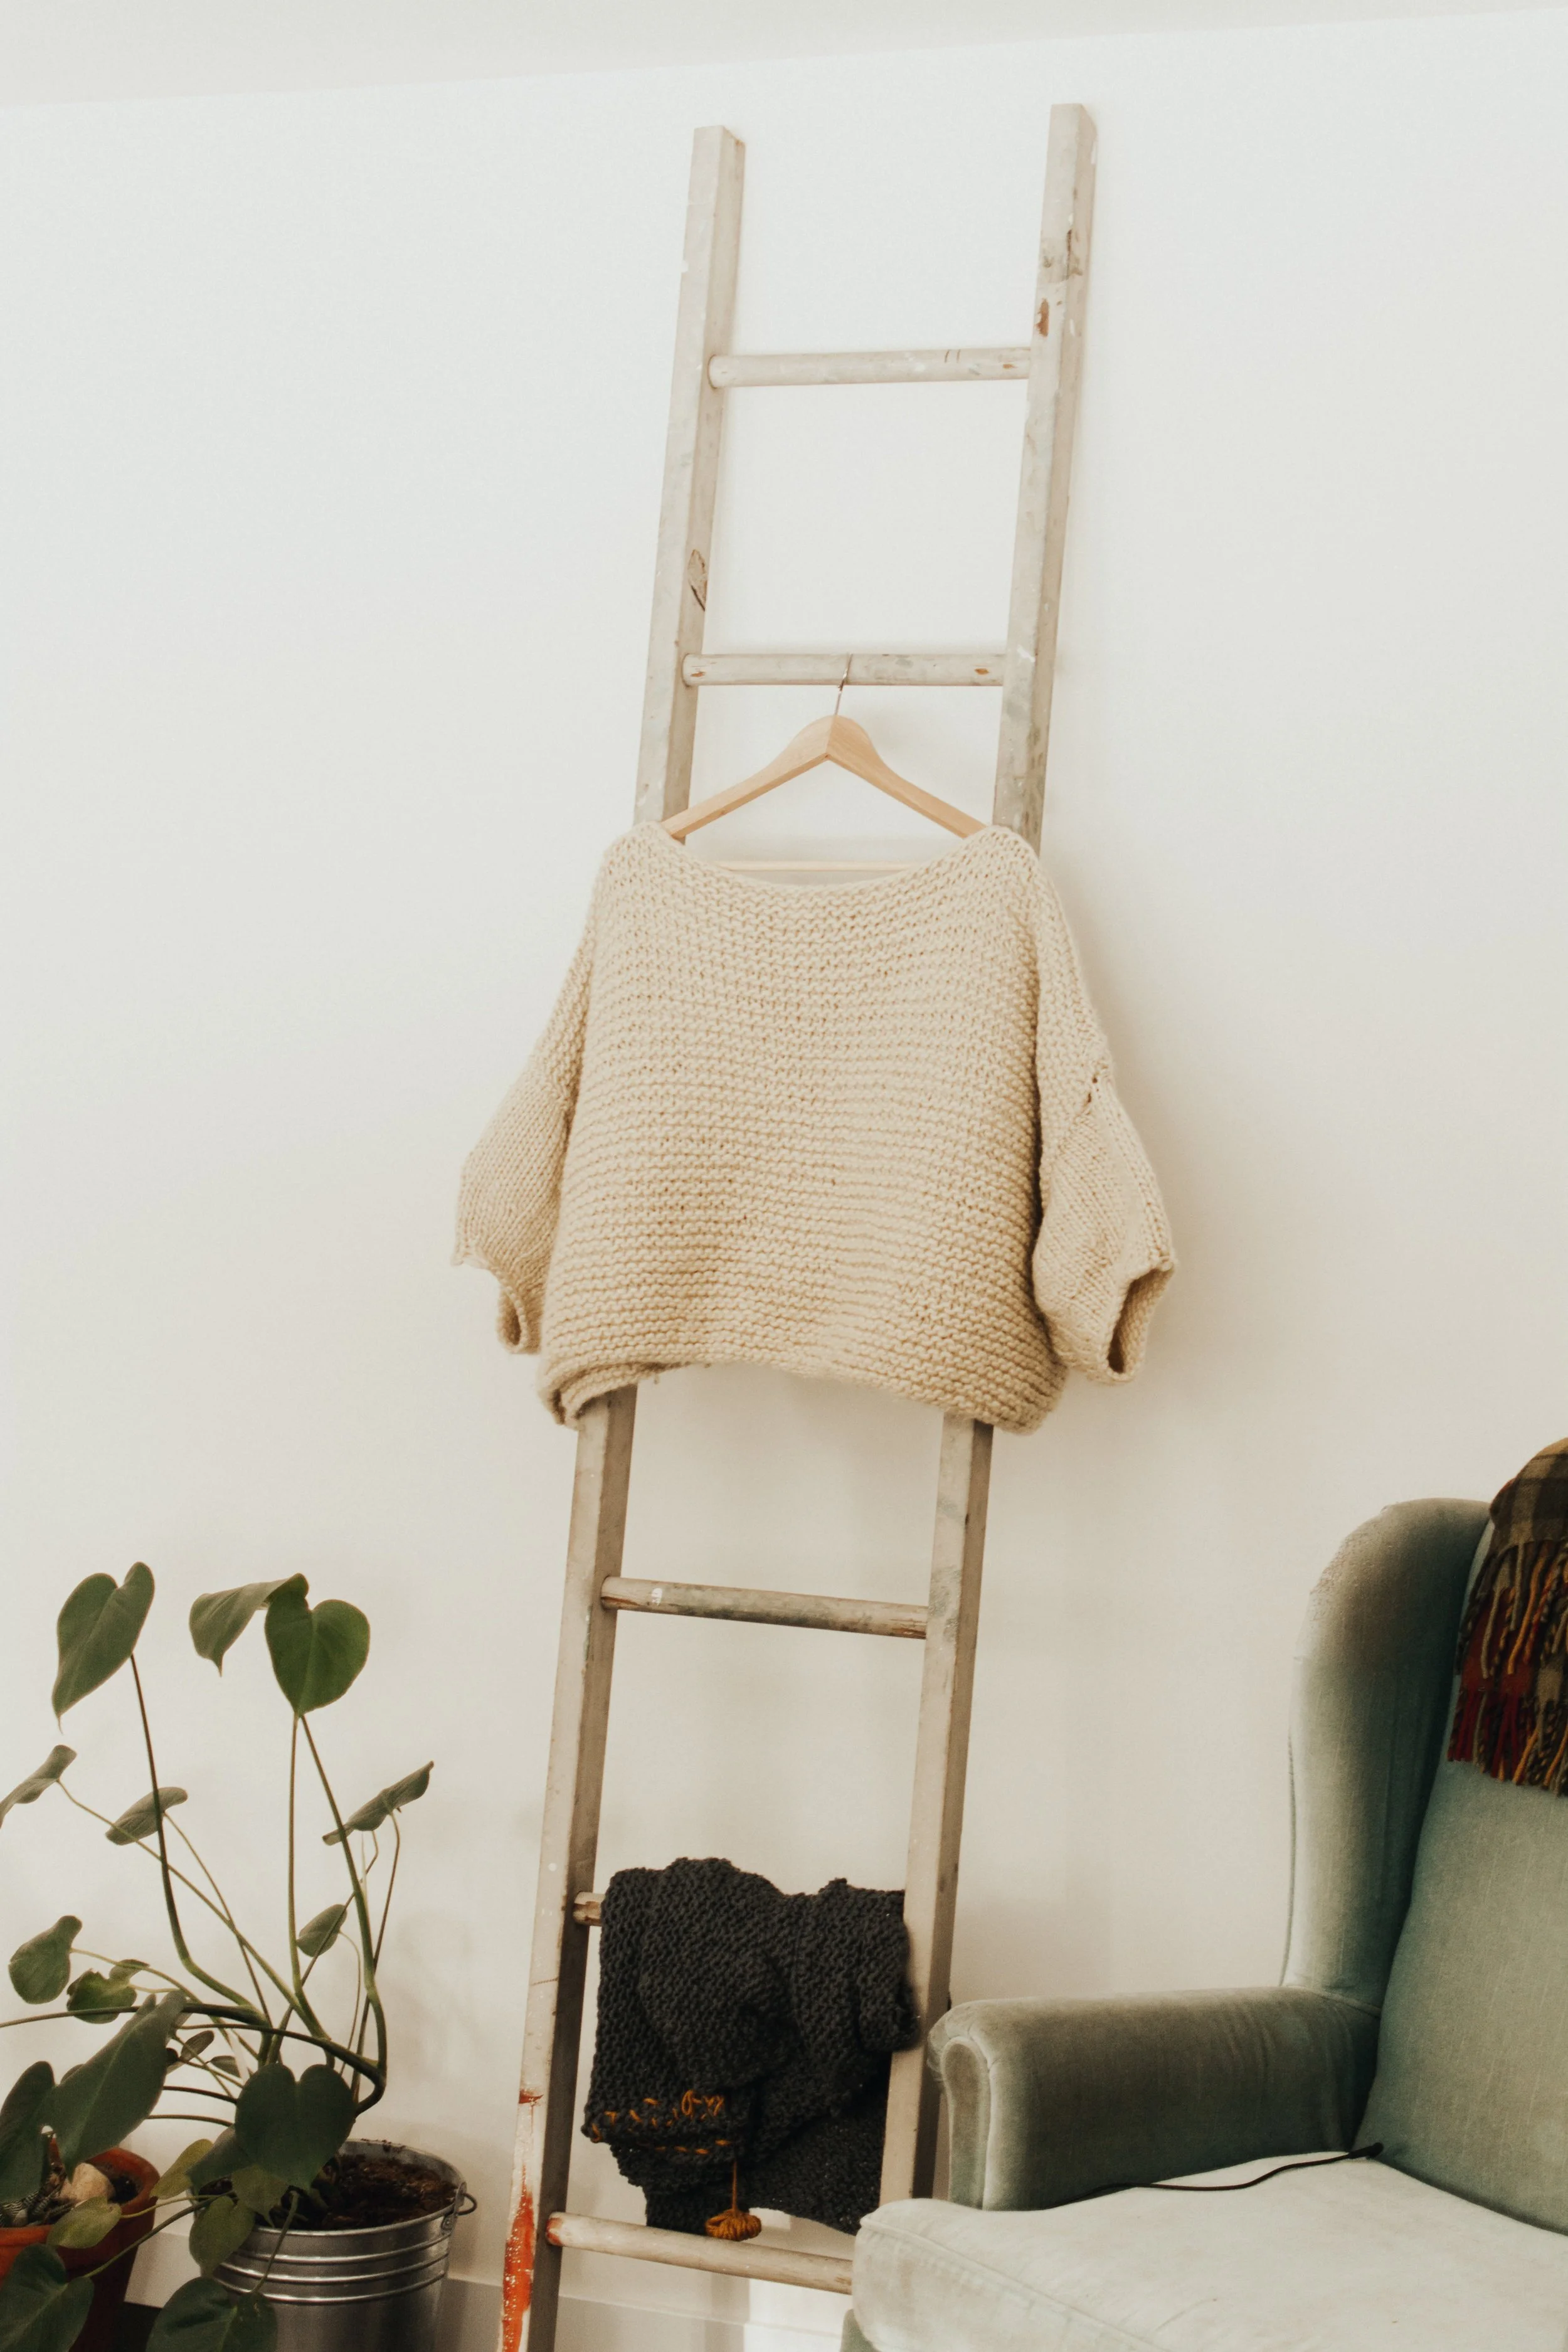

This chunky sweater is most likely the coziest thing I own, and guess what - it was SO easy to knit!! A few weeks ago I shared this sweater on my Instagram stories and my followers went kind of crazy for it - so today I am sharing exactly how I knit this sweater and how you can knit your own. All you need to know is how to ‘cast on’, knit stitch, knit 2 together, and hand stitch with a darning or plastic needle. There is hardly any technique to it which is why I love it so much. I can’t wait to make more of them!

Materials
Chunky weighted yarn, 3 XL Skeins, or 6 regular sized skiens
11 mm round needles with a 26” cable
11 mm round needles with a 10” cable
Darning Needle

Method
This sweater is made up of 4 pieces, a front panel, a back panel, and 2 sleeves. The front and back panels are identical and so are the sleeves! The first step is to knit the front panel. My panels measure approximately 31” wide and 19” long. They are basically 2 large rectangles made up of garter stitch!
Measure from shoulder to shoulder and add on 8 inches - this length will give you a drop shoulder. If you don’t want a drop shoulder then simply measure from the end of your shoulder to the other. Cast on the amount of stitches that will equal the length you measured onto the longest round needles. In my case I cast on 76 stitches - my sweater has quite a dramatic drop shoulder - the width of my front panel is 31”. Once all of your stitches are cast on, simply knit stitch every row. Make sure you do not connect the rows with your round needles. You want to work this piece flat - not in the round. You will begin to see the garter stitch pattern come to life! Once your panel feels long enough, or reaches 19” long, cast off and repeat everything you just did to make a back panel! Once you have two panels you can hold them up to your body to see how they will fit!

Now it is time for the sleeves! For this part you will need the shorter round needles, as we will be working this part in the round to get a different knit design. I cast on 60 stitches and began to knit stitch for approximately 15 rows. This time we will be knitting in the round, so when you come to the end of your first row, do not flip your knitting, rather knit into the next stitch on your right hand needle. If you don’t know how to knit in the round, give this tutorial a watch! I love knitting in the round as it creates the pretty ‘knit’ pattern without having to purl stitch - it makes it so much easier! After 15 rows, it is time to start the decrease! If you have made your sleeves quite narrow, you may not need to do this, but since my sleeves were quite wide, I wanted them to taper slightly. On my 16th row I knit 4, knit 2 stitches together, knit 4, knit 2 together, and repeated that for the whole row. my 17th row was just a straight knit row, then I repeated the decrease pattern for row 18. Row 19 was a regular knit row, and for row 20 I decided to intensify the decrease to knit 2, knit 2 together, knit 2, knit 2 together for the whole row. Row 21 - 25 were just knit rows, and then row 26 was another decrease row (same as row 20). Row 27 was a knit row and then I cast off!

My sleeves are quite short, but thanks to the drop shoulder, they turn out to be 3/4 length sleeves. If you want longer sleeves, continue knitting beyond the 15 rows until you have reached approximately 3/4 length and then begin you decrease! Much of this is dependent on how it feels and fits - as you are knitting, hold the work up to your arms and see how it feels and how the length is looking. Make note of the decreases and rows you have knit and repeat the process for the second sleeve!
Now that you have 2 panels and 2 sleeves, it is time to stitch everything together. I began by laying the 2 panels one on top of the other and measuring how wide I needed the neck hole to be on the top edge. Once I had that measurement, I marked it in the center of the top edge of the panel and stitched the shoulders closed on either side of the neck hole. After this, I laid out each sleeve so that it lined up with the shoulder seams. I then stitched around the sleeve, attaching it to the body panels of the sweater! Once that was finished, all that was left was to stitch together the sides of the sweater below the sleeves! I wove in the ends, and then it was ready to wear!!


You can find a step by step sewing tutorial for this sweater on my Instagram @madisonjoue under the ‘sewing tab’!!
This project took me around 10 hours in total to complete over several days. It is very beginner friendly, and is such a great way to create an ethical piece of clothing!
Thanks so much for reading - good luck with your knitting project!
Be sure to tag me in photos of your hand knit sweater!
Madison x